
The Project
Welcome back to the second part of the “Build a Simple REST Application with AngularJS” series where we will build out a master-detail interface in AngularJS based on the REST API we built in the previous post. Be sure to check out the first part of this series to get up to speed and then let’s rock!
The code is divided into two repositories – the API and the website that consumes the API. We are going to be focusing on the code in the Simple REST Website repository.
Simple REST API Simple REST WebsiteListing the Items
We are going to work through the standard CRUD functionality, starting with reading (or listing) the existing items. We covered the ItemsService in the first part of the series but we will examine it in the context of the data flowing from the server to the view.
We have abstracted the URI to its own constant service called ENDPOINT_URI so that if we need to change it later, we only have to do it in one place.
angular.module('SimpleRESTWebsite', [])
  .constant('ENDPOINT_URI', 'http://localhost:3000/api/')
We then inject the ENDPOINT_URI into the ItemsModel and use the path variable and getUrl method to generate our URL to get the items from the API.
Then we make a GET request to that endpoint and return the results via return $http.get(getUrl()).
.service('ItemsModel', function ($http, ENDPOINT_URI) {
  var service = this,
  path = 'items/';

function getUrl() {
    return ENDPOINT_URI + path;
  }

service.all = function () {
    return $http.get(getUrl());
  };
})
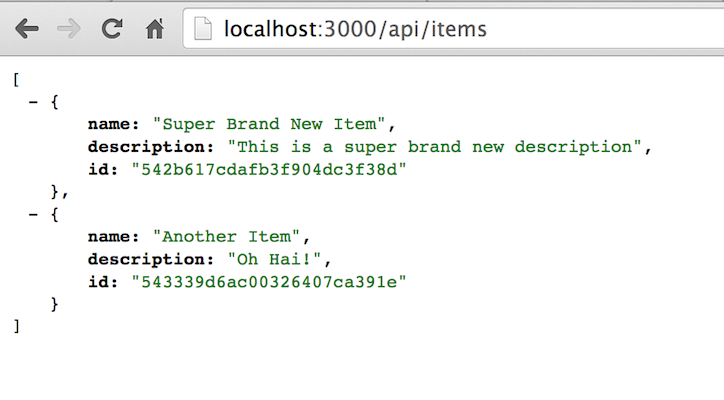
Calling getUrl will return a url of http://localhost:3000/api/items. This will return a JSON structure similar to the one below, provided that there are items in the database.
The $http service returns a promise object which we utilize in the getItems method in the MainCtrl.
Promises can be a bit hard to understand but here is a really good explanation by Andy Shora. In a cartoon!
Promises are an entire discussion unto themselves, but I will try to elaborate just enough for us to understand how we are consuming them in the MainCtrl. Promises are used to represent an asynchronous operation that will be resolved in the future; and when it happens, then we are allowed to act upon the resolution of that operation. This resolution conveniently happens in the form of a then method being called, with the first parameter being the success handler of the operation. The success handler receives a single parameter which is the result of the operation. The result object has plenty of interesting information about the server call we just made, but the property we are most interested in is the data property, which has the JSON object from the server.
.controller('MainCtrl', function (ItemsModel) {
  var main = this;

function getItems() {
    ItemsModel.all()
      .then(function (result) {
        main.items = result.data;
      });
  }

main.items = [];
  main.getItems = getItems;

getItems();
})
We then assign result.data to main.items, which we will use to display the items in just a moment. The call to the ItemsModel service is wrapped in the getItems method which we call at the bottom of MainCtrl to get things started.
And now that we have items populated in the MainCtrl, we can use ng-repeat to iterate over the items collection.
<body ng-controller="MainCtrl as main">

<div class="container-fluid">
<div class="row">
<div class="col-md-4">
<div class="item" ng-repeat="item in main.items">
<h3>{{item.name}}</h3>
          <strong>{{item.description}}</strong>
        </div>

</div>
<div class="col-md-8">
        <!-- CREATE ITEM FORM -->
        <!-- EDIT ITEM FORM -->
      </div>

</div>

</div>
<script src="app/app.js"></script>
</body>
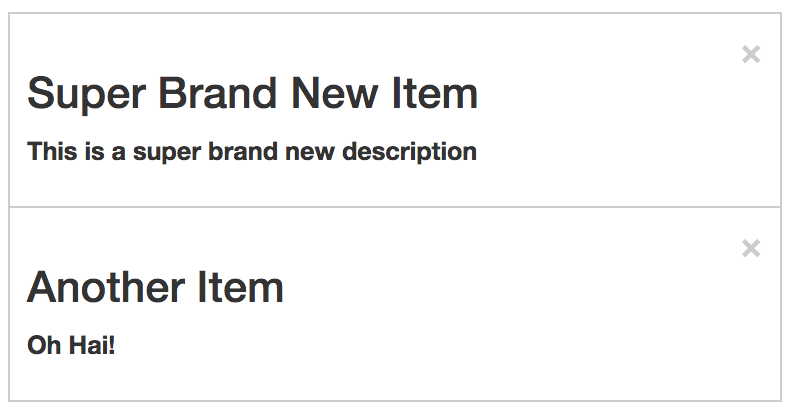
We do this with ng-repeat=”item in main.items” and then use the double curly braces to bind and display item.name and item.description. This will produce a result similar to the picture below.
Creating an Item
Now that we have created the ability to display items in our view we are going to create the functionality and interface to create items.
Interfacing with the API in the ItemsModel requires just a small augmentation to make it work. Instead of a GET operation, we need to perform a POST operation; so we will use the $http.post method and pass in a new item object as the payload. We expose this functionality with the create method on the service.
.service('ItemsModel', function ($http, ENDPOINT_URI) {
  //...

service.create = function (item) {
    return $http.post(getUrl(), item);
  };
})
We then call ItemsModel.create and pass in a new item object from the MainCtrl.
.controller('MainCtrl', function (ItemsModel) {
  var main = this;

function createItem(item) {
    ItemsModel.create(item)
      .then(function (result) {});
  }

main.createItem = createItem;
})
So the question is… where does the new item object come from? Thanks for asking! We are going to create an empty object and assign it to the main.newItem variable.
.controller('MainCtrl', function (ItemsModel) {
  var main = this;

function createItem(item) {
    ItemsModel.create(item)
      .then(function (result) {});
  }

main.newItem = { name: '', description: '' };
  main.createItem = createItem;
})
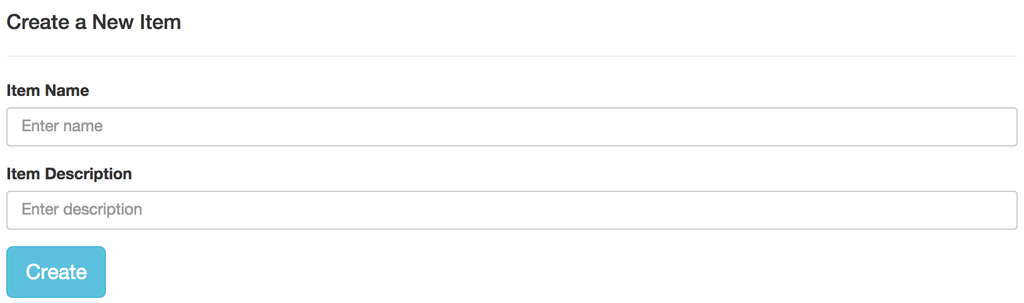
This allows us to bind our creation form to main.newItem and control it from the same. We have two text fields which we will use ng-model to bind to the name and description properties of the main.newItem object.
<form class="create-form" role="form" ng-submit="main.createItem(main.newItem)" novalidate>
<div class="form-group">
    <label>Item Name</label>
    <input type="text" class="form-control" ng-model="main.newItem.name" placeholder="Enter name">
  </div>
<div class="form-group">
    <label>Item Description</label>
    <input type="text" class="form-control" ng-model="main.newItem.description" placeholder="Enter description">
  </div>
  <button type="submit" class="btn btn-info btn-lg">Create</button>
</form>
When we enter text in either of these fields, the main.newItem object is updated immediately. And when the submit button is clicked or enter is pressed, we use ng-submit to call main.createItem and pass in main.newItem for processing.
.controller('MainCtrl', function (ItemsModel) {
  var main = this;

function createItem(item) {
    ItemsModel.create(item)
      .then(function (result) {
        initCreateForm();
        getItems();
      });
  }

function initCreateForm() {
    main.newItem = { name: '', description: '' };
  }

main.createItem = createItem;
  initCreateForm();
})
The final question before wrapping up the task of creating items is what do we do after the item has been successfully created? In our case, we are going to reset the create form by calling initCreateForm and refresh our items by calling getItems. The beauty of separating out the state of a form into a simple object is that we can reset the entire form by resetting the object it is bound to. This is exactly what we are doing inside initCreateForm with this expression: main.newItem = { name: ”, description: ” }.
Updating an Item
We now have the ability to create an item, so the next step is to add the ability to edit an existing item. This is going to be very similar to the techniques that we used to create an item, so I am going to point out the differences and then focus on how we can navigate between creating an item and editing an existing item.
The most obvious difference is that we need to use a different API call to the server to update the item. This is a PUT operation and the URL that we need to generate is going to be specific to the item we are editing. We are able to generate the appropriate URL by adding in another helper function called getUrlForId that wraps getUrl and appends itemId.
.service('ItemsModel', function ($http, ENDPOINT_URI) {
  //...

function getUrlForId(itemId) {
    return getUrl(path) + itemId;
  }
  service.update = function (itemId, item) {
    return $http.put(getUrlForId(itemId), item);
  };
})
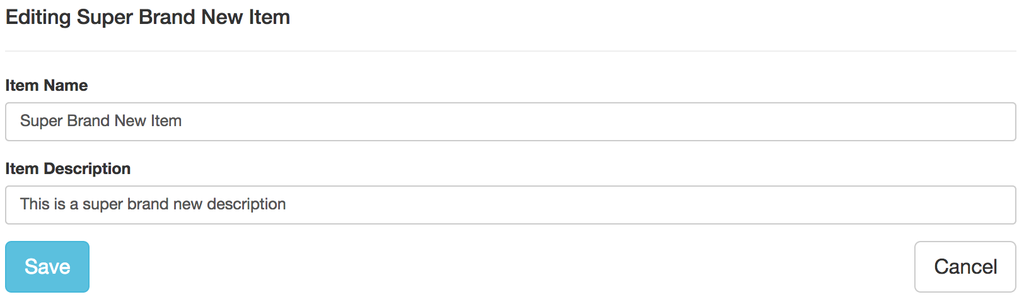
The form for editing an item is almost identical to the creation form with two differences. First, the form is bound to main.editedItem and second, we have a cancel button that calls main.cancelEditing to exit the editing state.
<form class="edit-form" role="form" ng-submit="main.updateItem(main.editedItem)" novalidate>
<div class="form-group">
    <label>Item Name</label>
    <input type="text" class="form-control" ng-model="main.editedItem.name" placeholder="Enter name">
  </div>
<div class="form-group">
    <label>Bookmark URL</label>
    <input type="text" class="form-control" ng-model="main.editedItem.description" placeholder="Enter description">
  </div>
  <button type="submit" class="btn btn-info btn-lg">Save</button>
  <button type="button" class="btn btn-default btn-lg pull-right" ng-click="main.cancelEditing()">Cancel</button>
</form>
When we click on an item from our list, main.setEditedItems is called, which in turn sets main.editedItem to the selected item that we passed in.
<

div class="item" ng-repeat="item in main.items"
    ng-click="main.setEditedItem(item)">
In the setEditedItem method, we take the item parameter and, using angular.copy, we assign the result to main.editedItem. The reason we are working with a copy is so that our changes are not immediately applied and we can cancel the operation. We are also setting the isEditing flag (which we will use to toggle the editing state in the view) to true.
.controller('MainCtrl', function (ItemsModel) {
  var main = this;

//...

function setEditedItem(item) {
    main.editedItem = angular.copy(item);
    main.isEditing = true;
  }

main.editedItem = null;
  main.isEditing = false;
  main.setEditedItem = setEditedItem;
})
We now have a way to get into an editing state, so let us introduce the ways to get out of the editing state. We will create a method called cancelEditing which sets isEditing to false and editedItem to null. We also want to exit the editing state when a user has successfully updated an item, so on the success handler of ItemsModel.update we will call cancelEditing, as well as refresh our list by calling getItems.
.controller('MainCtrl', function (ItemsModel) {
  var main = this;

function updateItem(item) {
    ItemsModel.update(item.id, item)
      .then(function (result) {
        cancelEditing();
        getItems();
      });
  }

function setEditedItem(item) {
    main.editedItem = angular.copy(item);
    main.isEditing = true;
  }

function cancelEditing() {
    main.editedItem = null;
    main.isEditing = false;
  }

main.editedItem = null;
  main.isEditing = false;
  main.updateItem = updateItem;
  main.setEditedItem = setEditedItem;
  main.cancelEditing = cancelEditing;
})
In the view, we use ng-if to toggle between the create and edit form based on the state of main.isEditing.
<div ng-if="!main.isEditing">
<h4>Create a New Item</h4>
<hr/>
  <!-- CREATE FORM -->
</div>
<div ng-if="main.isEditing">
<h4>Editing {{main.editedItem.name}}</h4>
<hr/>
  <!-- EDITING FORM -->
</div>
We will wrap up this section by fixing up a small UX issue – giving visual feedback to the user about which item is currently selected. We can detect if an item is the item currently being edited by comparing it with main.editedItem. The method isCurrentItem will return true if we have a match and false if we do not.
function isCurrentItem(itemId) {
  return main.editedItem !== null && main.editedItem.id === itemId;
}

main.isCurrentItem = isCurrentItem;
And now we can hook this method up to ng-class to apply an active class if item.id matches main.editedItem.id.
<

div class="item" ng-repeat="item in main.items"
    ng-click="main.setEditedItem(item)
    ng-class="{'active':main.isCurrentItem(item.id)}">
This is admittedly the part of the application that has the most moving parts but we have managed to break it down to the $http call and the edit form. From there, it was just a matter of managing the edit state.
Deleting an Item
And in a total anti-climatic fashion, we are going to follow up the edit feature with a MUCH simpler delete feature. In this case we need to make a DELETE call, so we will use $http.delete, which uses getUrlForId to generate the appropriate URL.
.service('ItemsModel', function ($http, ENDPOINT_URI) {
  service.destroy = function (itemId) {
    return $http.delete(getUrlForId(itemId));
  };
})
And in the success handler of calling ItemsModel.destroy we are going to cancel editing and refresh our items.
.controller('MainCtrl', function (ItemsModel) {
  var main = this;

function deleteItem(itemId) {
    ItemsModel.destroy(itemId)
      .then(function (result) {
        cancelEditing();
        getItems();
      });
  }

main.deleteItem = deleteItem;
})
In the actual item, we add a close button that calls main.deleteItem and passes in item.id on ng-click.
<div class="item" ng-repeat="item in main.items"
  ng-click="main.setEditedItem(item)"
  ng-class="{'active':main.isCurrentItem(item.id)}">

  <button type="button" class="close" ng-click="main.deleteItem(item.id)">×</button>

<h3>{{item.name}}</h3>
  <strong>{{item.description}}</strong>
</div>
Review
We have just successfully implemented a master detail interface in AngularJS that allows us to perform all of the necessary CRUD operations. Our interface is purposefully simple, but every single web application that I build is based on the ideas that we have covered here.
Let us do a quick review of the techniques we covered in this lesson.
- We can easily interact with a REST API using the $http convenience methods $http.get, $http.post, $http.put and $http.delete
- The $http service is built on top of promises, so we handle the result of our asynchronous calls in the then method.
- It is a good practice to explicitly define the object you want a form to bind as it makes it easier to control and reset.
- Use angular.copy when editing to work with the copy so you can defer your changes or cancel them entirely.
- Use ng-class to enhance your UX by giving better visual feedback to the user.
This is a part in a series of posts on techniques we can use when building out REST applications with AngularJS and there are definitely enhancements we could make. Leave your comments below on ways that we could extend this example to be more useful. 3 2 1 go!
Also a big #highFive to my buddy Peter Traeg for his suggestions around the naming convention of initCreateForm.
Resources
Getting Starting with StrongLoop
Simple Rest API Simple Rest Website


Why not use $resource instead of $http?
$resource is just an abstraction built on top of $http and so if you understand how $http works then it is really easy to use $resource. I personally do not find having a resource object to be that helpful but if you know of a compelling reason… I would love to hear it.
Thanks! Tutorial is very good!
How is this master-detail !?
From the Wiki “In computer user interface design, a master–detail interface displays a master list and the details for the currently selected item.” So my question to you is how is it NOT a master-detail?
This is not master detail. Master Detail refers to the view implementation, this means we should be seeing how the transition occurs from the master list view that displays all items to the details view which typically only shows information on a single item.
Again from the Wiki “In computer user interface design, a master–detail interface displays a master list AND the details for the currently selected item.” With that said, not super interested in arguing semantics as that is not the point or intent of the article.
Hi Simpulton
Thanks for the tutorial. I was wondering though, how much of a code change you’d need if you did not use Promise and why should we use promise?
thx
Hi Patrick —
You have to use a promise to resolve your asynchronous call. The $http service in Angular is built on top of it. Promises are optimal to callback as it avoids deeply nested callback structures when done correctly. I would also look at using observables as that is where everything is moving to in Angular 2.
I have tried to follow your to follow, but the code is not working as expected.
I created the project using angular seed, and have difficulty getting it to run.
Where would you put the mainctrl markup, on a separate file or in the index.html… ???
Hi George —
What problems are you running into with the repo? As for code separation, I always try to break up my files to do a single thing. For instance, each controller gets a file, each service gets a file, etc. For really trivial things I may make an exception but this is the general rule.
Good article