
The Intro
I recently gave a talk at ngVegas 2015 called Turn Your Designers Into Deathstars with Angular where I make the case that we need to make designers first class citizens in AngularJS.
UPDATE: A huge shoutout to my designer buddy Jordan Stoddard for hand drawing all of the sweet graphics for this post!
A major portion of this talk was focused on teaching “just enough” Angular so that a designer could get started. I wanted to dedicate an entire blog post to covering these concepts so that someone new to Angular or someone with a strong design background would have a resource to help them get started.
I posted six exercises at the link below that I would encourage anyone new to Angular to go through. I am assuming a basic knowledge of HTML and CSS, but I have done my best to make them as simple and as approachable as possible. With that said, this article is for someone new to Angular; please let me know in the comments what you liked and what you found confusing. Let’s get started!
The ExercisesEverything is an Object
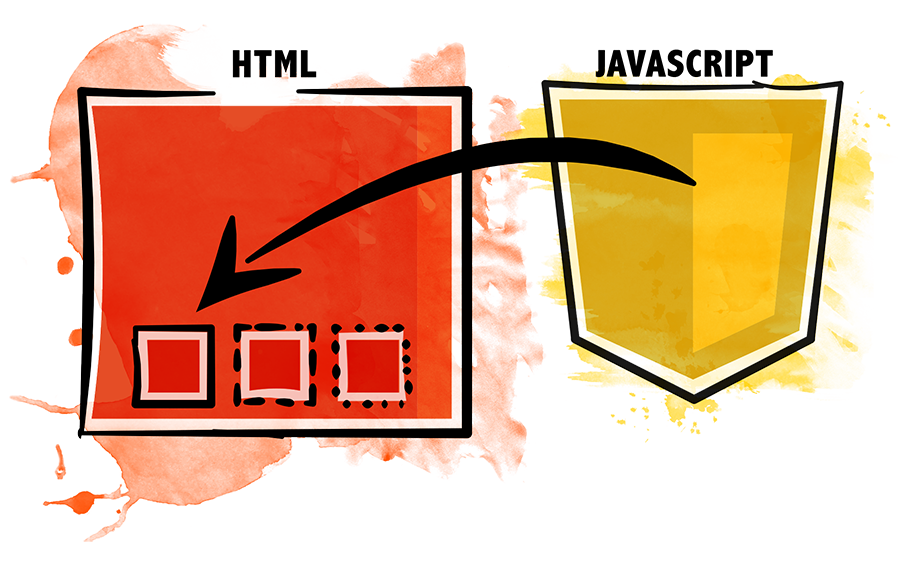
HTML exists to visually represent some object that exists in the “real” world. If we have a table of users, the table represents the group of users as a whole while each row is a representation of a single user. Underneath that HTML exists an object that can be represented as a JSON (JavaScript Object Notation) object.
Separating the HTML markup from the actual object it represents is one of the most fundamental steps for learning Angular. Once you can look past the HTML and articulate the JSON object that is behind it, you are now in a place where you can start using Angular to bind your HTML to that object and make your markup dynamic.
JSON has a fairly simple syntax which can be read about here http://en.wikipedia.org/wiki/JSON

Exercise 01: Data Binding
We will start with one-way data binding as we bind our HTML to a property in our JavaScript. If you go to the 01 Data Binding exercise via the link below and click on the scripts.js file, you will see the code below.
angular.module('ngDesigners', [])
  .controller('MainCtrl', function(){
    this.hello = 'world';
    this.item = {
      name: 'My Name',
      description: 'This description'
    };
  });
We are declaring an Angular module called ngDesigners which is basically a container for telling Angular how the application should be configured. On that module, we are going to create a controller called MainCtrl which we will use to define properties that we want to make available in our HTML.
In the HTML below, we have an abbreviated version of the HTML in the index.html file with two interesting attributes on our HTML. We are bootstrapping our Angular application with the ng-app=”ngDesigners” attribute and directing Angular to use our ngDesigners module as a starting point. We are also telling our application that we want to control the body tag with our MainCtrl.
<html ng-app="ngDesigners">
  <body ng-controller="MainCtrl as main" class="container">
  </body>
</html>
Angular uses a double curly brace syntax to indicate that we are binding to a JavaScript property in our HTML. To display the this.hello property in our HTML, we just need to add this code {{main.hello}} to our HTML as seen in the snippet below.
<html ng-app="ngDesigners">
  <body ng-controller="MainCtrl as main" class="container">
  {{main.hello}}
  </body>
</html>
This will render as world when the HTML is loaded in the browser. We can also bind to properties on objects using the same technique such as {{main.item.name}} which will render as My Name. The takeaway here is that we can define a property in our JavaScript and bind to and display the value of that property in our HTML using Angular’s binding syntax.
01 Data Binding
Exercise 02: ngModel
The double curly brace syntax is really fantastic, but it is uni-directional in that you cannot manipulate the value of the property from the HTML. It only flows in one direction and that is from the JavaScript to the HTML. What happens if you actually do need to capture user input and update the JavaScript accordingly? This is where ngModel comes into play. By using ngModel, we are able to establish two-way data binding between the HTML and JavaScript.
It is common to use camel case when defining a variable in JavaScript while using snake case to reference attributes in HTML. We are referring to “ngModel” as camelCase but Angular automatically converts it to snake-case in our HTML which is why we are seeing it as “ng-model”. This will show up in a few other cases as you progress in Angular so I just wanted to make you aware of that as soon as possible to avoid confusion.
We will start with the same HTML we used in the previous example, as seen below.
<html ng-app="ngDesigners">
  <body ng-controller="MainCtrl as main" class="container">
  {{main.hello}}
  </body>
</html>
By attaching ngModel to an input element, we can change the value of the input field and see it automatically update everything else on the page that is bound to that property. When our application runs, the HTML within the h4 tag will render as world. Because we added ng-model=”main.hello to our input field, it will also be pre-populated with the value of world.
<h4>{{main.hello}}</h4>
<input type="text" class="form-control" ng-model="main.hello">
If you run the example from the link below, you will see that both the h4 and input tags are populated appropriately; but what happens when you modify that value in the input field? The value in the h4 tag updates as you type! This is because ngModel is updating the value of this.hello in the controller which is then updating anything else that is bound to it. In this case, it is the additional h4 tag that is getting updated.
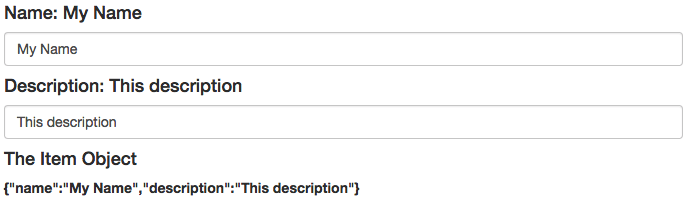
You can also bind to properties on objects using the appropriate dot notation. In the HTML below, we are binding two input fields to the name and description properties of the item object. When the user updates the value of either one of those input fields then the respective property is immediately updated.
<h4>Name: {{main.item.name}}</h4>
<input type="text" class="form-control" ng-model="main.item.name">

<h4>Description: {{main.item.description}}</h4>
<input type="text" class="form-control" ng-model="main.item.description">
An astute observer would see that we are starting to end up with something that looks like what could be a full-fledged form. For instance, what if we changed those two input fields to bind to main.user.email and main.user.password? That is right! We would have a login form. More on that later.
02 ngModel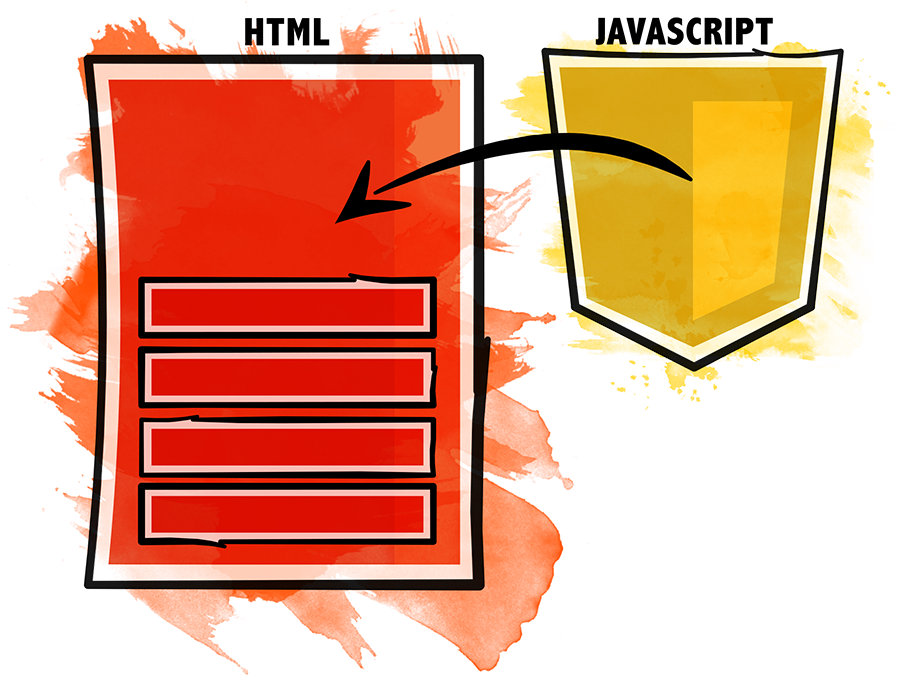
Exercise 03: ngRepeat
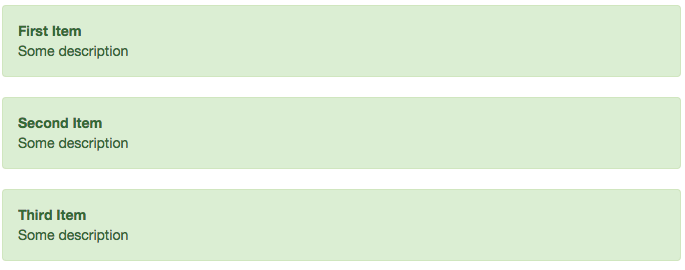
We now know how to bind to a single object and display in our HTML but what if we want to bind to a bunch of objects? In the HTML below, we have a single object defined on the item property and an array of objects on the items property.
angular.module('ngDesigners', [])
  .controller('MainCtrl', function() {
    this.item = {
      name: 'Single Item',
      description: 'Some description'
    }
    this.items = [
      {
        name: 'First Item',
        description: 'Some description'
      },
      {
        name: 'Second Item',
        description: 'Some description'
      },
      {
        name: 'Third Item',
        description: 'Some description'
      }
    ];
  });
Applying the techniques from the previous lessons, we can display the single item object as we did in the HTML below.
<div class="alert">
  <strong>{{main.item.name}}</strong>
  {{main.item.description}}
</div>
Pay particular attention to how we are simply binding to the name and description properties on the item object. To lay out the items array, we need to add ng-repeat=”item in main.items” to our div. This is essentially telling Angular that for every element in main.items repeat that particular HTML element and its children and create a reference to that object and call it item. You will notice that the HTML template below is almost identical to the HTML above with the exception that we are no longer referring to an item on the MainCtrl via main.item but instead to a local variable named item.
<div class="alert" ng-repeat="item in main.items">
  <strong>{{item.name}}</strong>
  {{item.description}}
</div>
This is really exciting because we have now introduced a way to make a very dynamic layout with a very small amount of code. How would you use this technique to layout the items collection in a table? Could you create a sheet of thumbnails using this? Check out the exercise below and give the bonus technique a spin for something really awesome.
03 ngRepeat
Exercise 04: ngClick
We have seen how to bind to properties in our controller but what happens when we want to capture a user interaction and execute some JavaScript based on that action? Angular comes with a handful of really useful HTML attributes to capture these interactions; the easiest and most useful one by far is ngClick. This allows us to capture a click event from the user and execute some expression. Occasionally, depending on the designer I am working with, I will stub out the JavaScript functions; but I have found that most everyone can replicate a simple setter function like setCurrentItem once they have seen it a few times.
angular.module('ngDesigners', [])
  .controller('MainCtrl', function() {
    this.setCurrentItem = function(item){
      this.currentItem = item;
    };
    this.items = [
      {
        name: 'First Item',
        description: 'Some description'
      },
      {
        name: 'Second Item',
        description: 'Some description'
      },
      {
        name: 'Third Item',
        description: 'Some description'
      }
    ];
  });
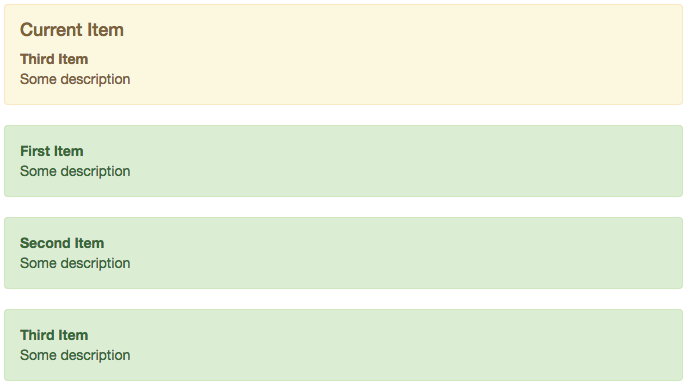
The setCurrentItem method takes an item parameter and assigns it to the currentItem property. We can display the currentItem in our HTML using the template below.
<div class="alert alert-warning">
<h4>Current Item</h4>
  <strong>{{main.currentItem.name}}</strong>
  {{main.currentItem.description}}
</div>
And we can display all of the items in main.items using ngRepeat as seen in the code below.
<div class="alert alert-success"
  ng-repeat="item in main.items">
  <strong>{{item.name}}</strong>
  {{item.description}}
</div>
So how do we capture a click from the user in our list of items and set that as the current item? We accomplish that by adding ng-click=”main.setCurrentItem(item)” to the same element that we declared ngRepeat on.
<div class="alert alert-success"
  ng-repeat="item in main.items"
  ng-click="main.setCurrentItem(item)">
  <strong>{{item.name}}</strong>
  {{item.description}}
</div>
Angular does a really good job of keeping tracking of context; so when main.setCurrent(item) is called, Angular knows that item is referencing the actual item that was clicked.
04 ngClickThe cousin to ngClick is ngSubmit which you can attach to a form and captures onsubmit events. You can read about it here https://docs.angularjs.org/api/ng/directive/ngSubmit
Exercise 05: ngIf
We can further enhance the user experience by toggling elements on the page based on predefined conditions. Angular comes with a handy tool called ngIf that will place an element on the page or remove it depending on if the expression defined in it evaluates to true or false. In the code below, we have an array of items with a visible property that is set to true. We also have a method called toggleVisibility that accepts an item parameter and toggles its visible property.
angular.module('ngDesigners', [])
  .controller('MainCtrl', function() {
    this.toggleVisibility = function(item){
      item.visible = !item.visible;
    };
    this.items = [
      {
        name: 'First Item',
        description: 'Some description',
        visible: true
      },
      {
        name: 'Second Item',
        description: 'Some description',
        visible: true
      },
      {
        name: 'Third Item',
        description: 'Some description',
        visible: true
      }
    ];
  });
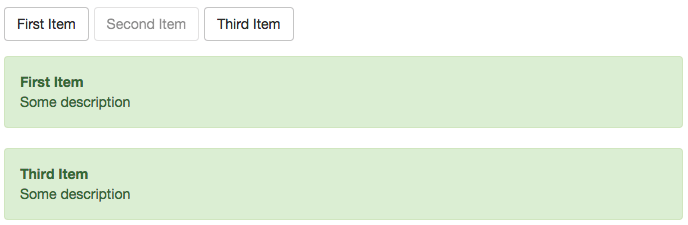
These lessons were designed to stack on each other and we are going to start to see how we can take simple concepts and compose them into interesting things. There is nothing keeping us from using ngRepeat more than once on the same data structure in a page. In our example, we will using ngRepeat to lay out our navigation as well as lay out div elements with additional information. In the code below, we are using ngRepeat to create a button for each item in our items array and then call main.toggleVisibility(item) on click.
<div class="btns">
  <button type="button"
    class="btn btn-default"
    ng-repeat="item in main.items"
    ng-click="main.toggleVisibility(item)">{{item.name}}</button>
</div>
We will also use ngRepeat to create a div element for each item as well.
<div class="alert alert-success"
  ng-repeat="item in main.items">
  <strong>{{item.name}}</strong>
  {{item.description}}
</div>
And to toggle the visibility of the item based on the current value of item.visibility we just need to add ng-if=”item.visible” to our template.
<div class="alert alert-success"
  ng-repeat="item in main.items"
  ng-if="item.visible">
  <strong>{{item.name}}</strong>
  {{item.description}}
</div>
Check out the bonus at the end of this example for how to dynamically attach a class to an element using ngClass.
05 ngIf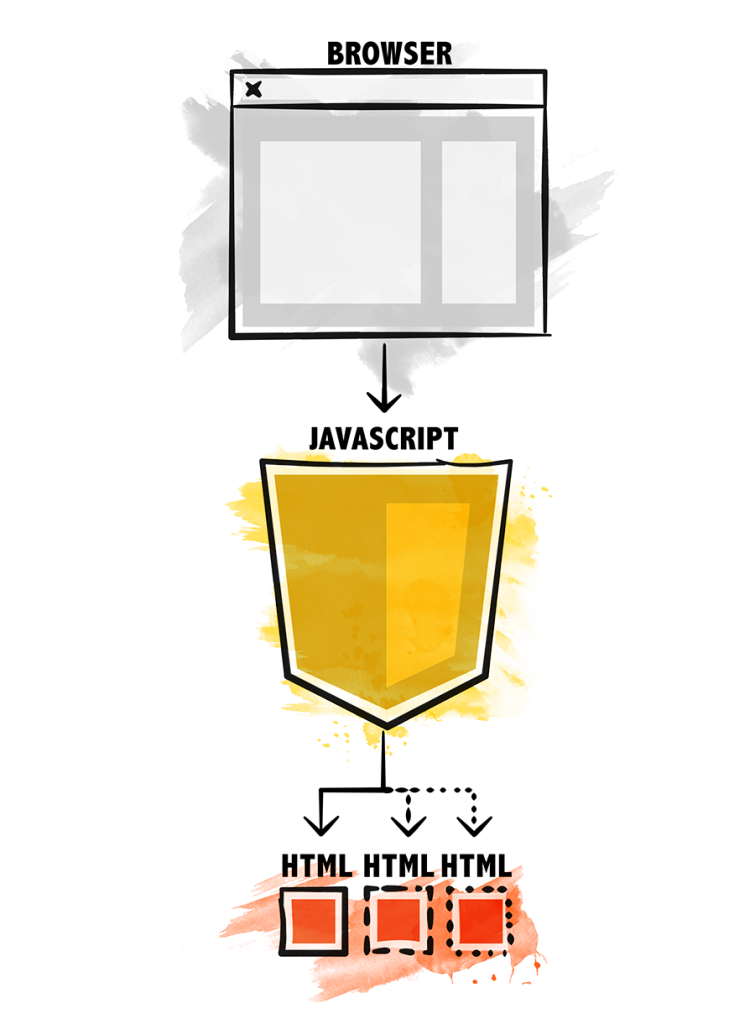
Exercise 06: Simple States
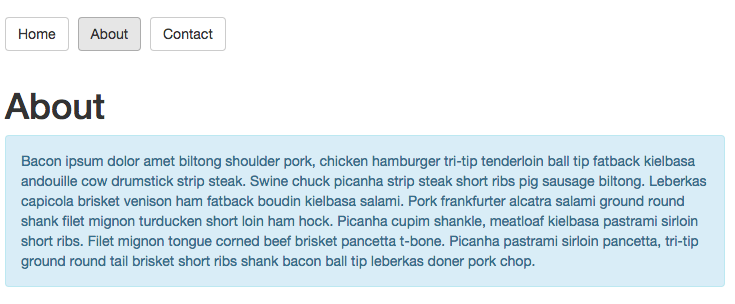
We could stop here and have plenty of ammunition to go and start building interfaces but I want to take it once step further by introducing simple states using ui-router. We can use ui-router to map our URL to specific templates within our application. For instance, if you look at the screenshot below you will see three buttons with a single button given focus and some corresponding content below those buttons. This is pretty exciting because we are starting to see the makings of a simple website or application!
The buttons are pretty straightforward but make special note of where the href attributes are pointing. Routes in Angular are generally are referenced with a hash symbol.
<div class="btns">
  <a href="#/home" class="btn btn-default">Home</a>
  <a href="#/about" class="btn btn-default">About</a>
  <a href="#/contact" class="btn btn-default">Contact</a>
</div>
So how does Angular know where to put the specific content designated for each route? We tell Angular where we want our content to load by defining ui-view on our target element.
Just to be clear, ui-router is very powerful with a lot of really complicated things you can accomplish with it. Those things are outside of the scope and intent of what I am trying to convey here. We are focusing on interpreting the current URL and loading an appropriate template into the page. That’s all!
<div class="btns">
  <a href="#/home" class="btn btn-default">Home</a>
  <a href="#/about" class="btn btn-default">About</a>
  <a href="#/contact" class="btn btn-default">Contact</a>
</div>
<div ui-view></div>
To use ui-router, we need to include the source file in our HTML and include the submodule in our module definition as you can see in the code below. We also will define our routes within the config block of our application so I have stubbed that out as well. I generally will define at least one route for a designer before I hand it off.
angular.module('ngDesigners', [
  'ui.router'
])
  .config(function($stateProvider, $urlRouterProvider) {
  });
To simplify this a bit, I want to show you a single route on its own to illustrate that, in our case, there isn’t much to it. We are defining a state on $stateProvider and calling it home. Within this state, we are saying that we want to activate this state when the url matches /home and we want to load in the home.tmpl.html which we defined via templateUrl. Take a moment and ponder what this could possibly look like if we were defining a route for the About state.
$stateProvider
  .state('home', {
    url: "/home",
    templateUrl: "home.tmpl.html"
  })
Probably pretty similar right? In fact, they are almost identical. We can stack our routes as you can see in the code below and I think that it actually reads pretty well. The intent of each route is pretty clear about what it wants to target and the template that it wants to use.
angular.module('ngDesigners', [
  'ui.router'
])
  .config(function($stateProvider, $urlRouterProvider) {
    $stateProvider
      .state('home', {
        url: "/home",
        templateUrl: "home.tmpl.html"
      })
      .state('about', {
        url: "/about",
        templateUrl: "about.tmpl.html"
      })
      .state('contact', {
        url: "/contact",
        templateUrl: "contact.tmpl.html"
      });
      $urlRouterProvider.otherwise("/home");
  });
We will add $urlRouterProvider.otherwise(“/home”); at the bottom of the config block that will redirect the user back to the home route if a route cannot be matched based on the URL.
06 Simple StatesReview
My goal is that if you have followed along to this point and done the challenges for each exercise, you will be able to start articulating ways to bring static layouts to life with Angular. On a personal note, I would encourage anyone when learning a new thing to just have fun! Do not be afraid to express yourself and play around. I truly believe that I can approximate most layouts with the techniques that I covered in the six exercises we covered in this post. Let me know what you think in the comments below and let me know if you build anything rad! #highFive
Resources
Here are some great resources if you want to learn more Angular.


This is a great introduction to Angular basics without trying to go too deep too quickly. I know some designers that could use this.
Am a beginner. Found this to be lucid, excellent & well thought out. Thank you
great article. I just saw your course on udemy Just Enough Angular for Designers. Are you covering Angular 2 in this course ?
Thanks Irfan! I am moving my course to teachable.com and am going to add in Angular 2 section. Believe it or not… the templating looks a bit odd at first in Angular 2 but it is quite a bit simpler.
Thank you very much for your very good tutorial!
Would be nice to have an example how to make a call to RESTful web services to get JSON data and display it on the screen.
Shav